Deploy microservice with Docker from scratch - P1
In this series, I will build and deploy a simple microservice app with docker. Everything begin from scratch 😎
Prerequisite
Tech stack
Right here, I will use:
- FE: Angular
- BE: Java
- DB: MySQL
P/s: You can use your preferred stack, but scripting a docker-image build may differ slightly.
Architecture

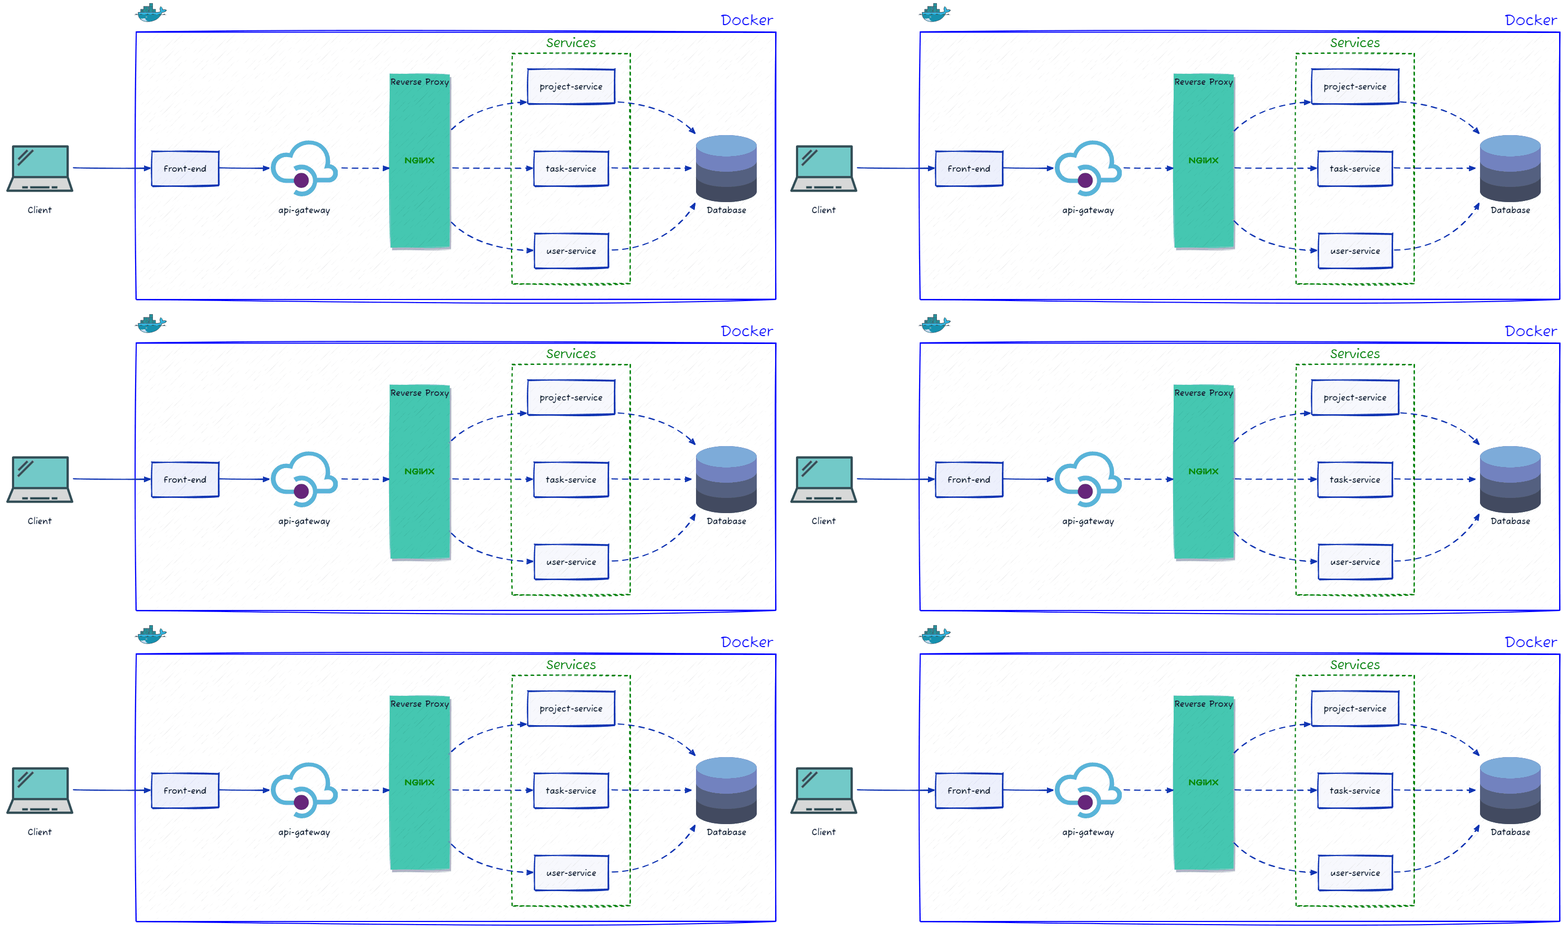
The system will have 6 components:
- Client app: Interact BE via API
- Nginx (gateway): Reverse proxy and load balancer
- Project Service: Handle request relate to project
- Task Service: Handle request relate to task
- User Service: Handle request relate to user
- Database Layer (MySQL): Data persistence
Project Structure
/
├── client-app/
│   ├── src/
│   └── Dockerfile
├── project-service/
│   ├── src/
│   └── Dockerfile
├── task-service/
│   ├── src/
│   └── Dockerfile
├── user-service/
│   ├── src/
│   └── Dockerfile
├── docker-compose
└── nginx.conf
❗Important thing: Did you notice every service have each own Dockerfile 🤔
Docker file
- FE (AngularJS)
FROM node:20-alpine AS builder
WORKDIR /app
COPY package*.json ./
COPY angular*.json ./
COPY tsconfig*.json ./
RUN npm install --legacy-peer-deps
COPY . .
RUN npm run build -- --configuration production

FROM nginx:alpine AS production
COPY --from=builder /app/dist/client-app/browser/ /usr/share/nginx/html

EXPOSE 80
CMD ["nginx", "-g", "daemon off;"]
- BE (Java)
FROM maven:latest AS build
WORKDIR /projectservice
COPY . .
RUN mvn clean package -DskipTests

FROM eclipse-temurin:21-jdk-alpine
WORKDIR /projectservice
COPY --from=build /projectservice/target/*.jar app.jar
EXPOSE 8081
ENTRYPOINT ["java", "-jar", "/projectservice/app.jar"]
As mentioned above, each service will have its own Dockerfile so remember clone and update it for each service.
Conclusion
Okay, I have an overview of the project and its functionality. In the next post, I'll delve into implementation details.
Happy Coding!!!